The process for adding External users to be able to share/ use your SharePoint site can be a bit confusing, but when setup correctly it is simple to add additional users. The one key at this time (March 2012) is that external users MUST have Hotmail.com Accounts. While you may see some sites saying a Windows Live ID is sufficient, the current setup from Microsoft will ONLY allow HOTMAIL Accounts to be added as external users.
1) Go to your portal.microsoftonline.com log in site. This link will open a new window, so if you click this link you can still follow these instructions.
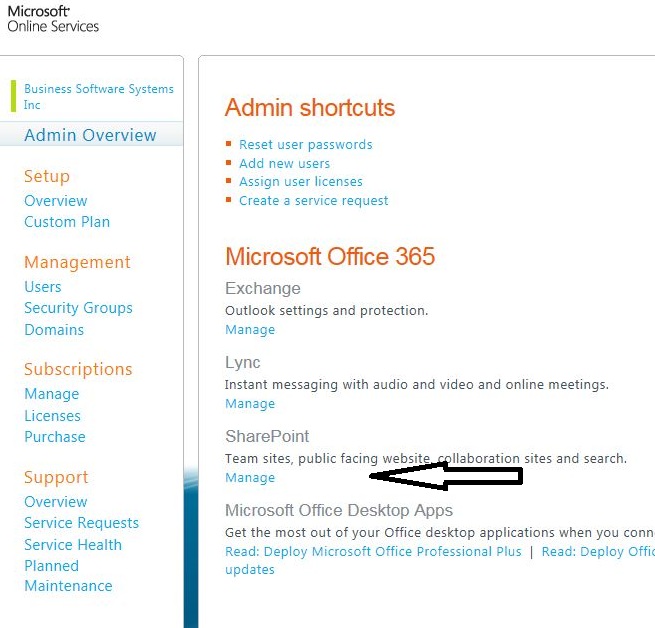
2) After you log into your admin portal account, click on the Manage Link under SharePoint.
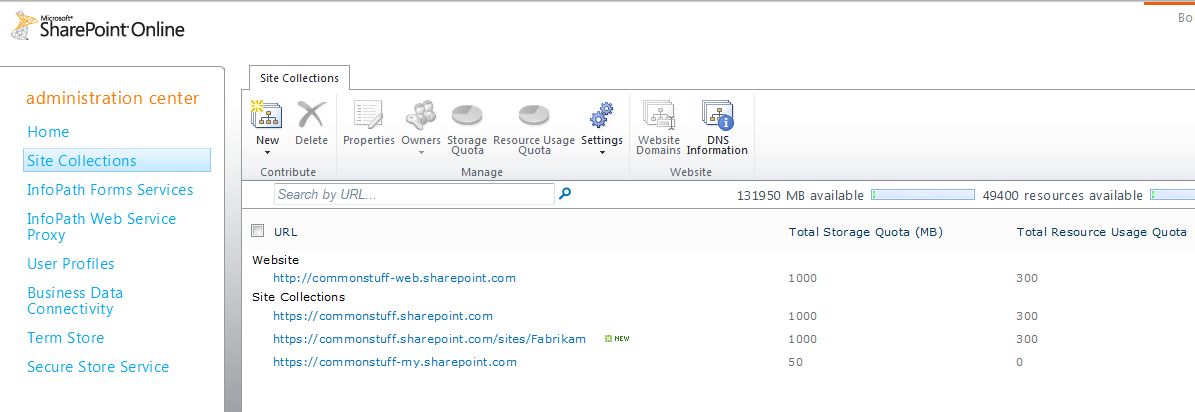
3) Then Click on the Site Collection Link
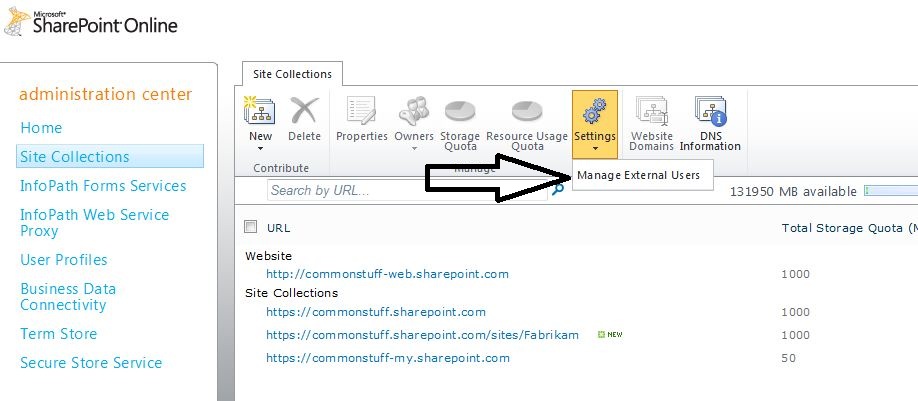
4) After the page fully loads, the Settings icon will become active. Click on it and you will get a drop-down for External users. Click on External Users.
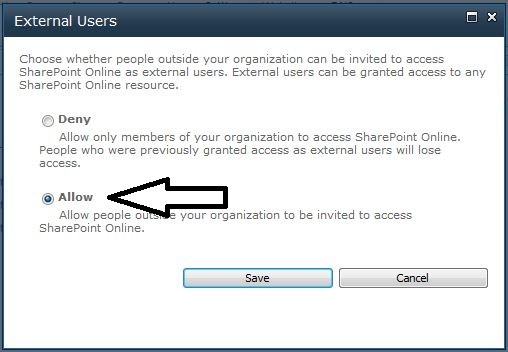
5) A dialog box will open. Verify that it is set to Allow External Users. Then Click Save.
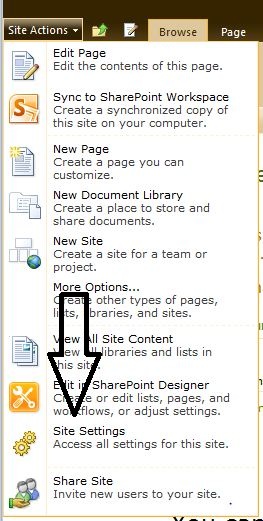
6) Go back to the Admin Portal and click on Team Site to enter the SharePoint Site. Once in SharePoint, Click on the Site Action, then click on Site Settings.
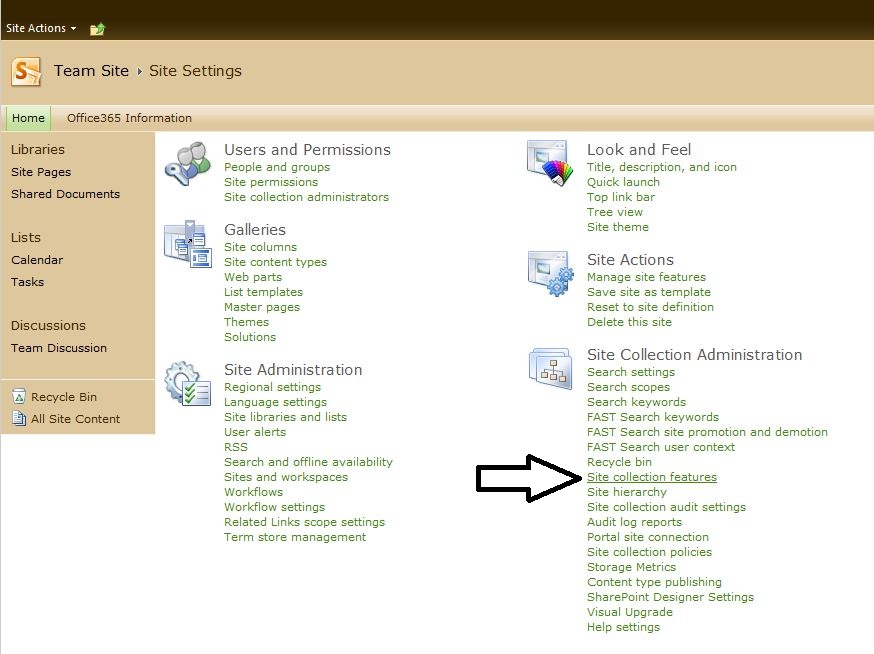
7) In the Site Settings on the right side, under the Site Collection Administration, find the "Site Collection Features" and click on it.
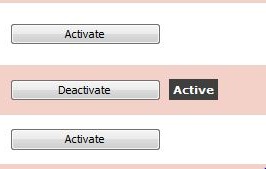
8) When the Site Collection Features appears, find the External User Invitations. To the right of it if it is not Activated, click on the box to Activate it, If it is already active (as shown in the image below), do nothing.

9) Going back to the Site Actions, Click on the Bottom item :Share Site" to specify users to share the site with.

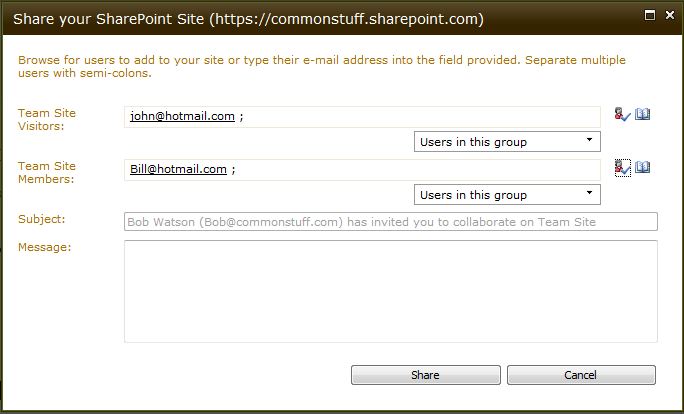
10) After you click on the Share Site item, a dialog box will open that allows you to enter the names (e-mail addresses) of those outside the organization (or those not members of your Office 365 subscription) that should have access to your SharePoint site. You can add your external users in one of 2 categories, Team Site Visitors, and Team Site Members. Visitors have more restricted access with the Members are allowed to upload and edit files.
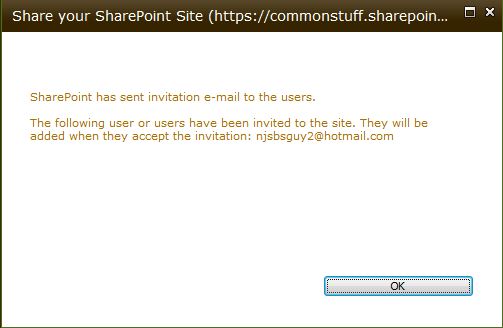
11) After you click the Share button you will get a dialog box confirming you have sent the e-mail to those users you have invited.
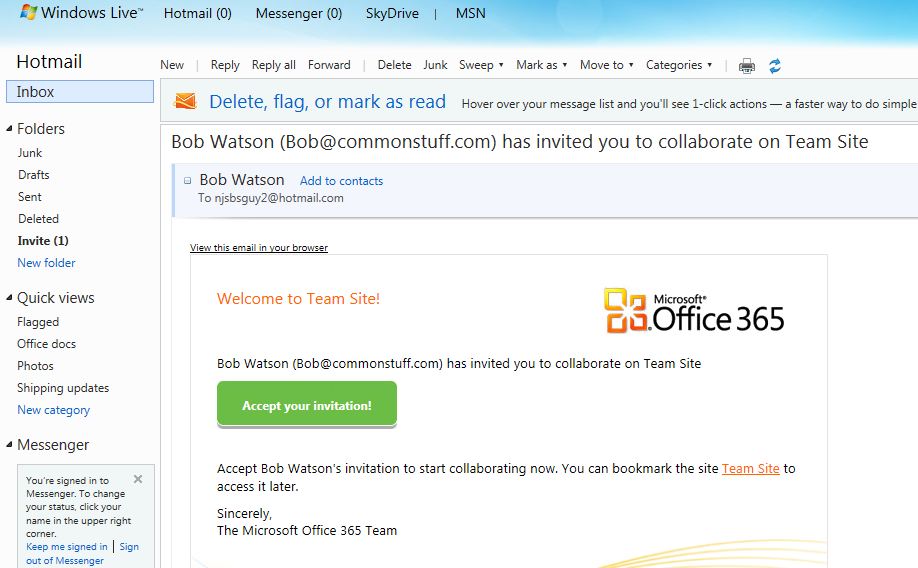
12) The recipient (person outside the organization will get an e-mail confirmation similar to that below:
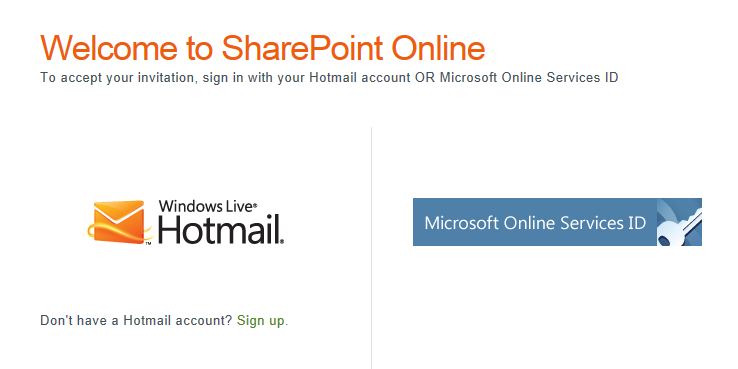
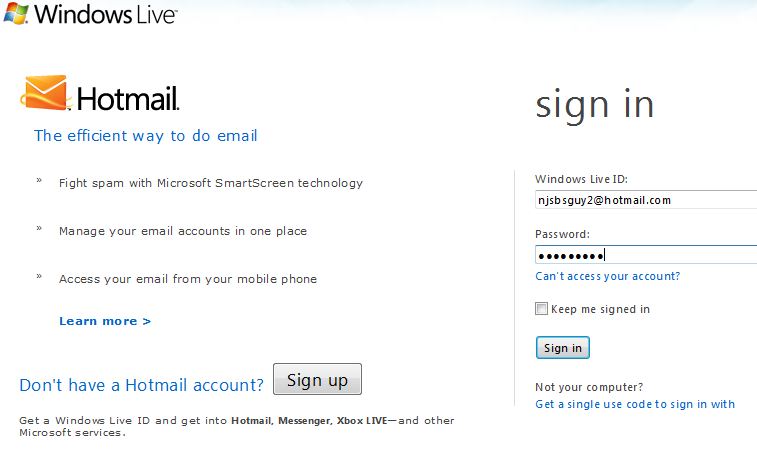
13) And once you click on accept the Invit, you are redirected to a page asking which method you want to log in with. They should click on the Windows Live Hotmail icon and this will take their Hotmail credentials and apply them to the SharePoint site and you will be given access.
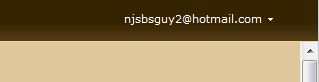
14) And once you are logged in you will see the log in e-mail address at the top right of the page:
Please note: The first time you sign into the Sharepoint Site, you must use the link in the e-mail. If you do not use the link you will not be able to log in. After you have logged in successfully with the link, then you can go to name.SharePoint.com (where name is replaced with your domain name) and log in. If you do have a Hotmail account that you are using to log in, look for the note at the bottom to Log in with your Hotmail Account.
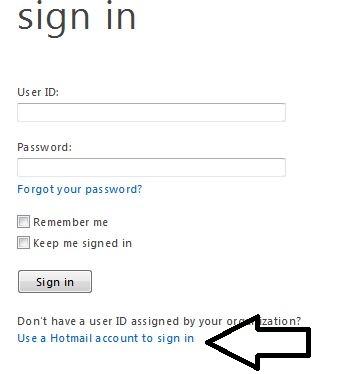
And then enter your Hotmail account information in the appropriate boxes and click Sign in
That will then let you in and you can move about as your permission will allow you to.